Business workspace
Read your company job analytics
See how people interact with your job postings.
For: Business owner or authorised staff
Start here: Job analytics
Business side menu → Job analytics
Each section below names the page or dialog to use. Move to the next page only when the instructions say to.
Step-by-step instructions
Page / dialog · Steps 1–4
Job analytics
Where to go: Business side menu → Job analytics
Open Job analytics →- Step 1.
Open Job analytics in the business side menu.
- Step 2.
Choose the reporting period and any job-status filter.
- Step 3.
Compare job views, clicks and application activity.
- Step 4.
Review individual jobs to see where more information or a clearer description may help.
Relevant page screenshot
Example page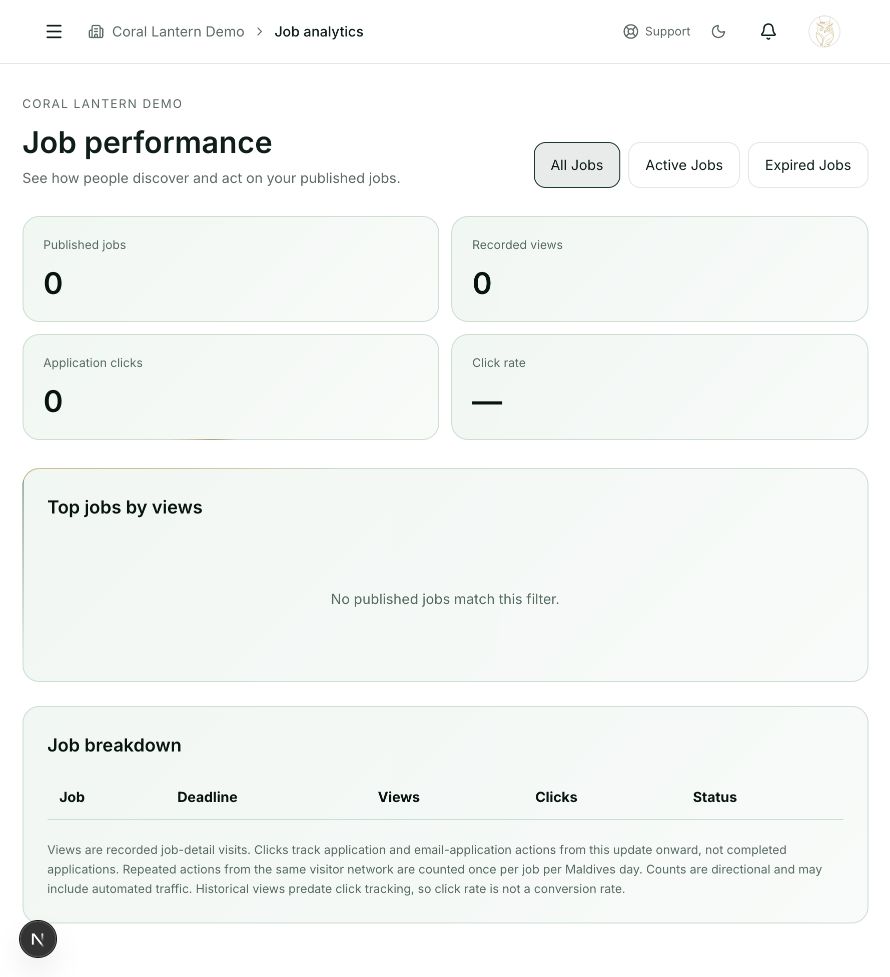
Job analytics
Steps 1, 2, 3, 4 in this section. Where to find it: Business side menu → Job analytics. This is an example of this page, not an additional task. Use the written instructions for the exact controls and the current details in your account.
This screenshot illustrates the named page and steps above. Example names and values may differ from your account. Follow the written instructions, especially for payments.
Screenshot 1 of 1: Job analytics
Good to know
Views and clicks are activity counts, not a guarantee of applications or hires. Demo data is not real hiring activity.